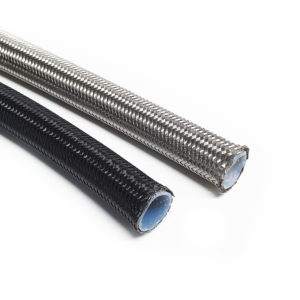
How to cut and install a steel braided hose?
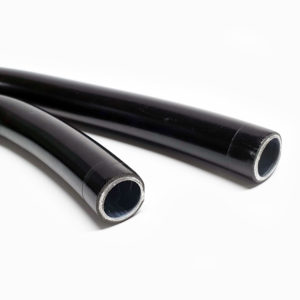
For the extra horse power needed by a vehicle’s engine, a steel braided hose is likely the best candidate to withstand the heat and abrasion caused by high pressure lines within the vehicle’s system.
How to cut a steel braided hose?
The frayed edges off a steel braided hose can stab bare skin when handled and can cause some real pain. Cutting through stainless steel can be tricky but the right preparation will topple all that.
Prep the hose – Wrap electrical or masking tape along the circumference of the preferred cut line. Make sure to wrap the tape tightly around the hose a couple of inches. Doing this prevents the ends of hose from fraying when cut.
Choose your weapon – The type of cutting tool you will use to cut the stainless steel hose is also an integral part of the process. It is not advised to use a hand saw in any case. Other viable options include:
Band saw – Although not the best option, using a band saw will do the job but it requires a slow process in order to prevent the ends from fraying. As you hit the braided section at the interior of the wrapped tape, slowly roll the hose around and towards the saw blade. Adding too much pressure on the hose causes frayed ends.
Cut-off wheel – Using a cut-off wheel allows you to work beneath the vehicle. However, just like the band saw, it is necessary to go slow to prevent the edges from fraying as well.
Chop saw – Probably the best tool for the job, a chop saw has a built-in clamp and holds the steel hose in place. A chop saw with an abrasive wheel is recommended for this job and provides a clean cut without fraying. The key to avoiding fraying is to go about cutting slowly as with the other tools.
How to install braided steel hose fittings?
Once you have your cut braided steel hose, it’s ready to be installed into your vehicle.
Insert into socket – Twist and push the cut steel hose into the socket until the hose reaches the rear threads of the socket nut.
Mark the position of the hose – Wrap the part of the hose where it conjoins with the socket with tape. This serves as a marker to determine whether the hose is being pushed out when assembling later on.
Apply a small amount of oil – Place a bit of oil inside the hose and in the threads of the socket nut as well. Apply oil in the thread and in the nipple of the hose end as well.
Insert hose end nipple into the socket and hose – Insert the hose end nipple gently until it engages with the hose end threads. Be sure to hold the hose to prevent it from being pushed out of the socket.
Tighten hose end – Using a properly sized spanner, tighten the union until you only have a 1mm gap between the nuts of the socket and the hose end. For a professional finish, align the flats of the nuts.
Ensure everything is in place – Look for any signs if the hose has been pushed out during the assembly using the marker made earlier. If anything looks out of place, do a quick check.